
![]()
Page 3 - Controller design and construction.
So I had all the parts at home finally and not
much
more to get. It was time to start building. I chose
to make a controller rather than buy one, for cost
effectiveness
and the fact that
I had 4 extra keyboards just lying around.
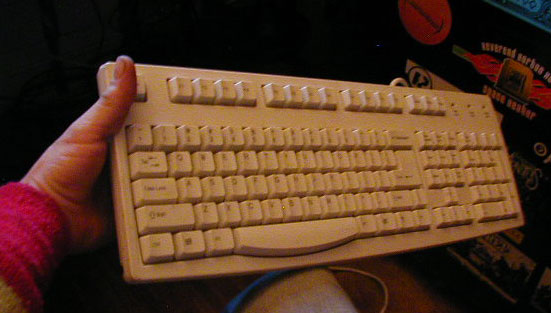
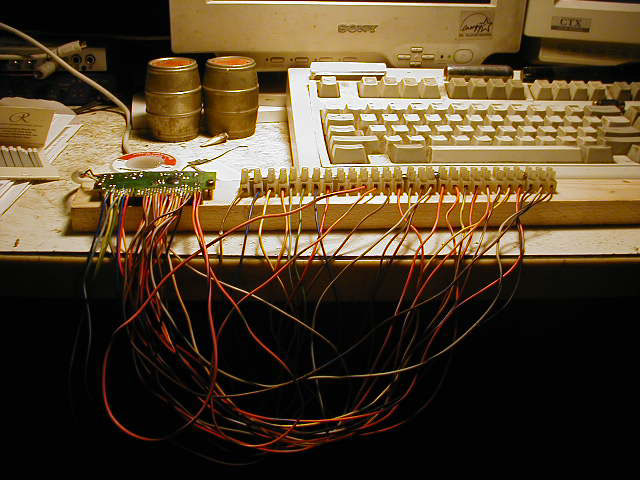
I took the lightest one and took it apart, separating
the controller from the membrane and plastic case.
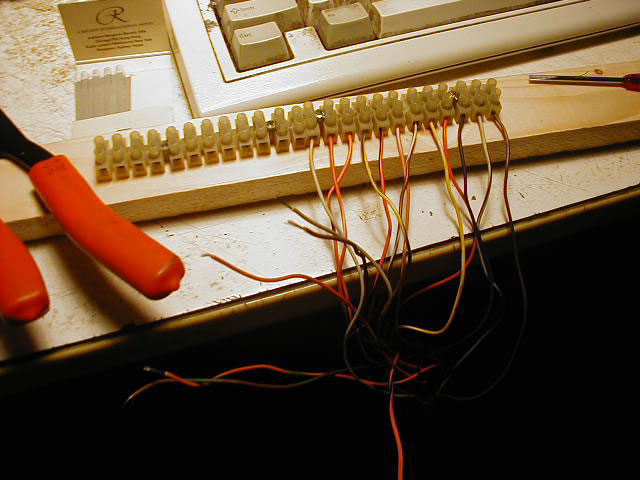
I mounted terminal connectors to a piece of wood
with enough inputs to accept all the wires from the
controller and make the matrix, then screwed the
controller down alongside the terminal connectors
after I wired them all, with foam underneath the
board to protect the circuitry beneath.
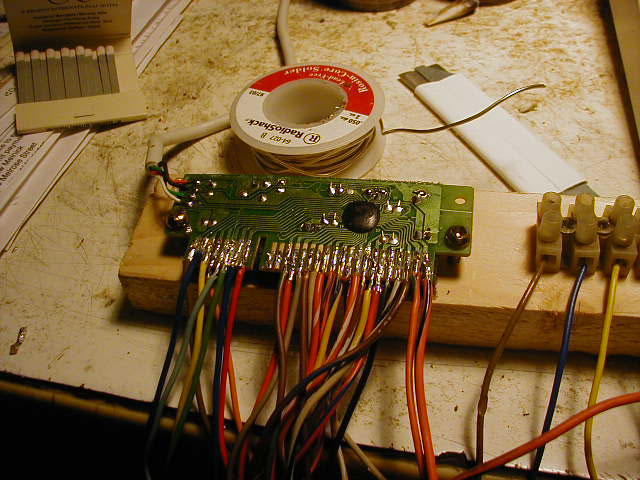
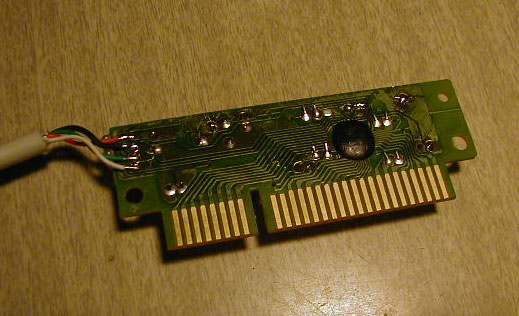
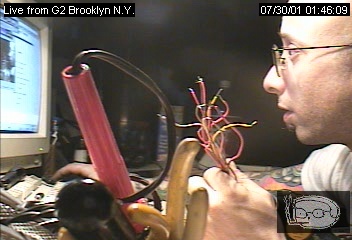
I then soldered the wires to every contact point on
the controller, first the group of 8 wires and then
18 wires corresponding to each contact.
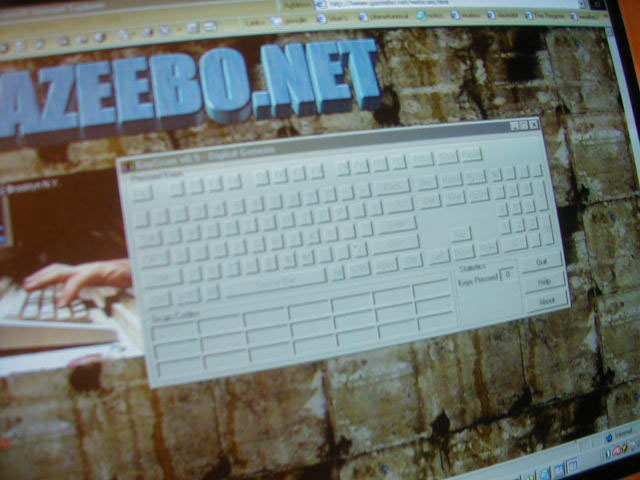
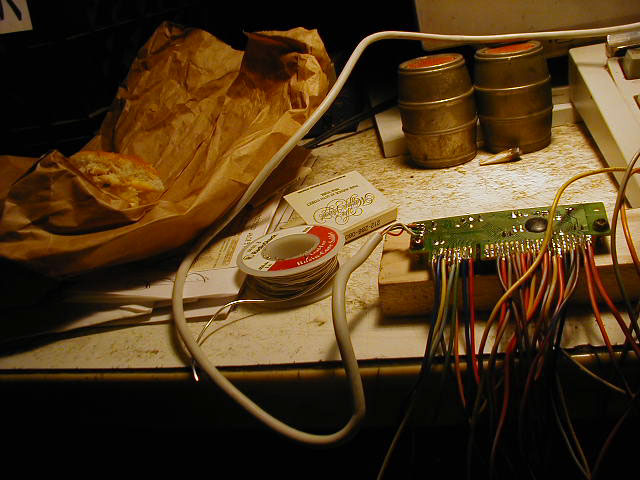
I then took a wire and tied it to the first terminal point,
then touched it to terminal 1 through 18, noting which
key was being depressed by watching a program called
Keyscan
on my monitor, giving me a visual as to what
key was being triggered.
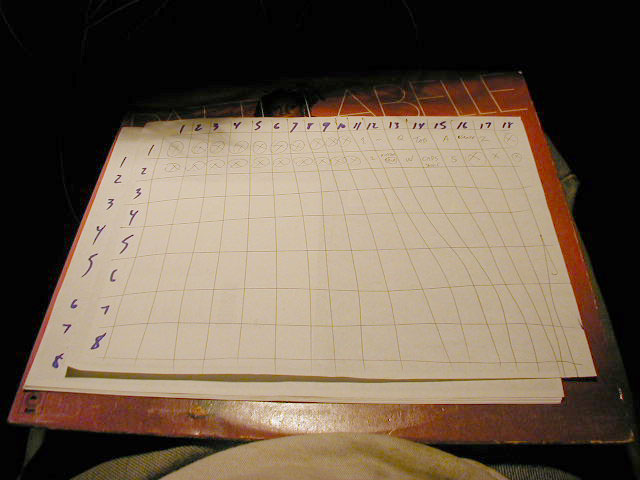
I noted each combination of wires on my Labelle
workboard,and mapped the matrix of the controller.
Continue to Cabinet 2 shelf construction and computer mounting